I needed a Windows 11 VM to do some testing and since I currently don’t have any Windows hardware anymore I decided to use VMware Fusion on my (intel) mac instead. Follow the steps below to avoid the dreaded “this machine is not compatible with Windows 11” message because a (v)TPM is missing by default.
First step is to acquire an ISO image which you can find here: https://www.microsoft.com/en-us/software-download/windows11
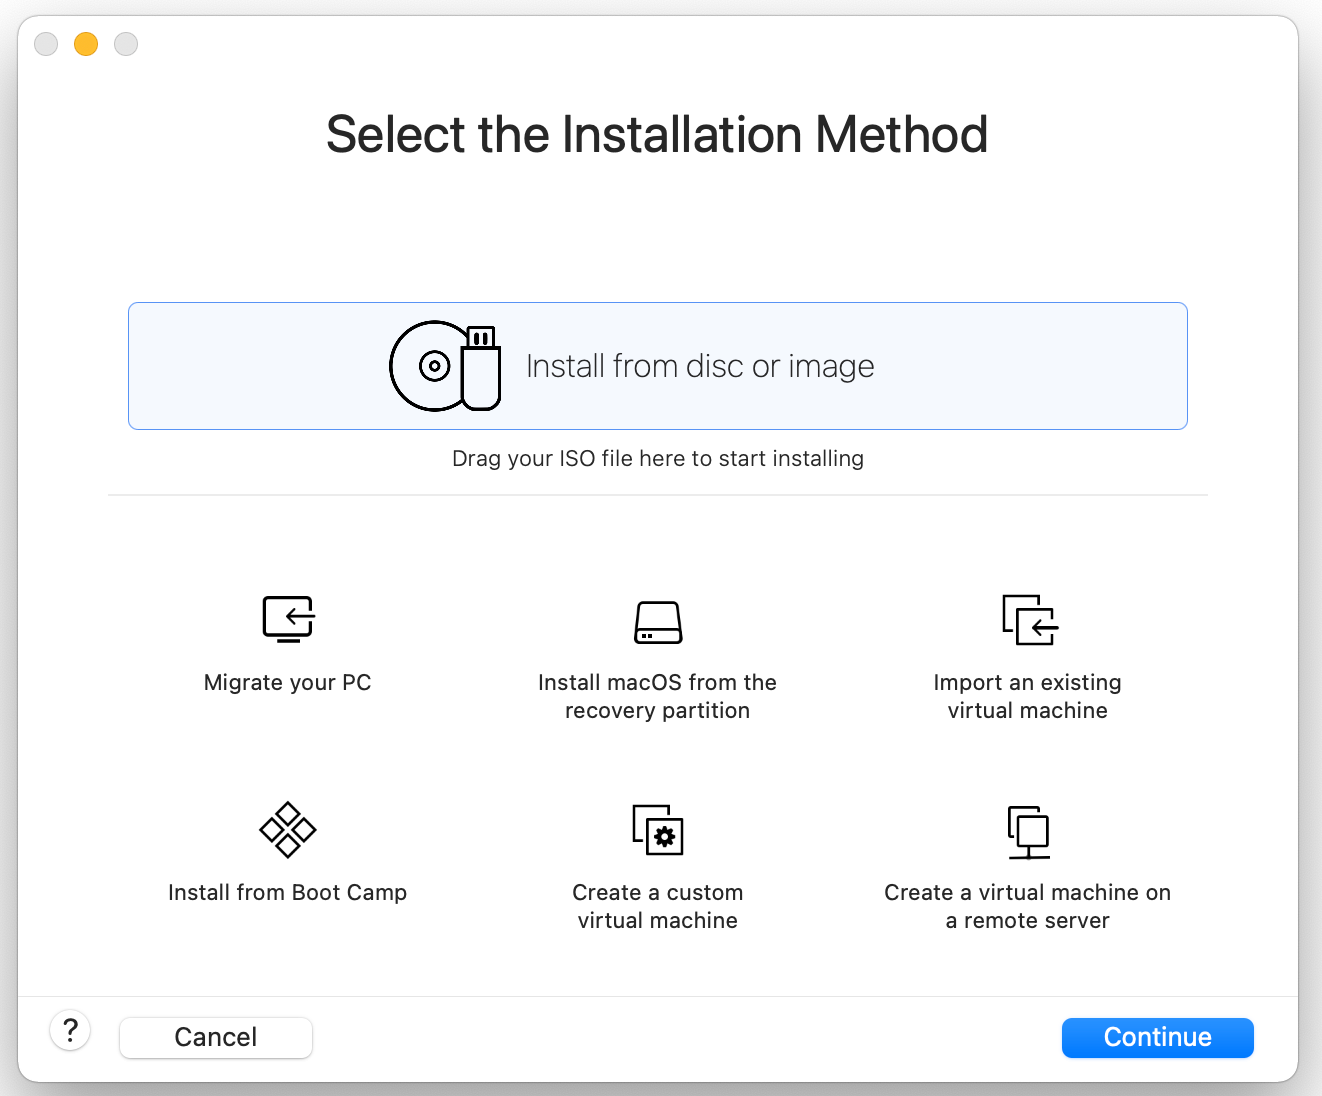
Next we run Fusion and create a new VM using the “install from disc or image” option.
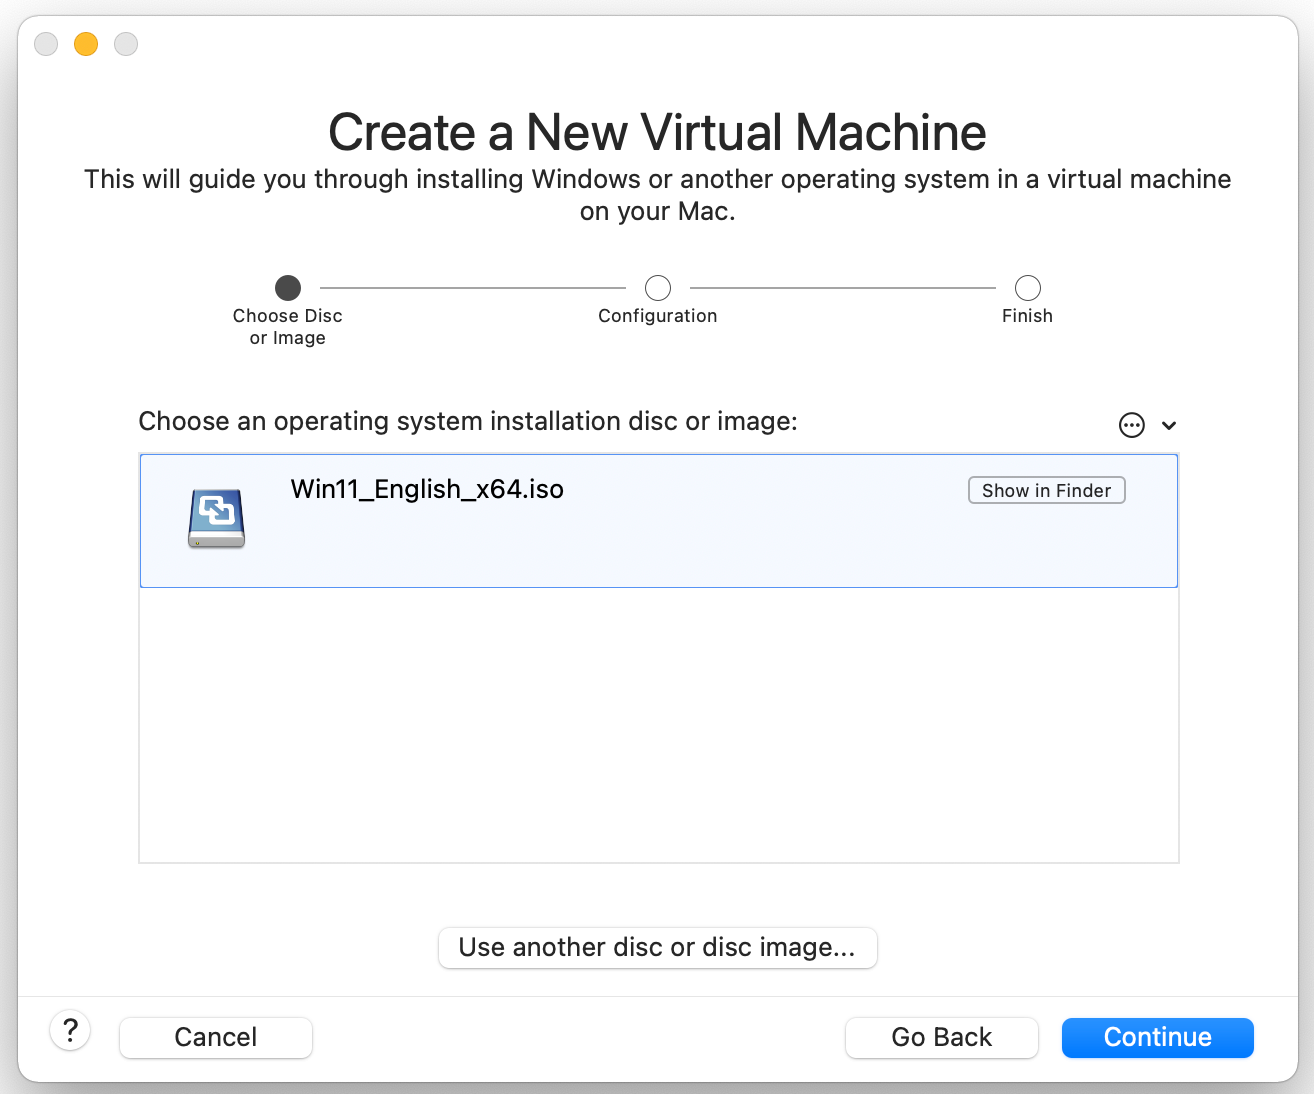
Select the .iso image and click continue
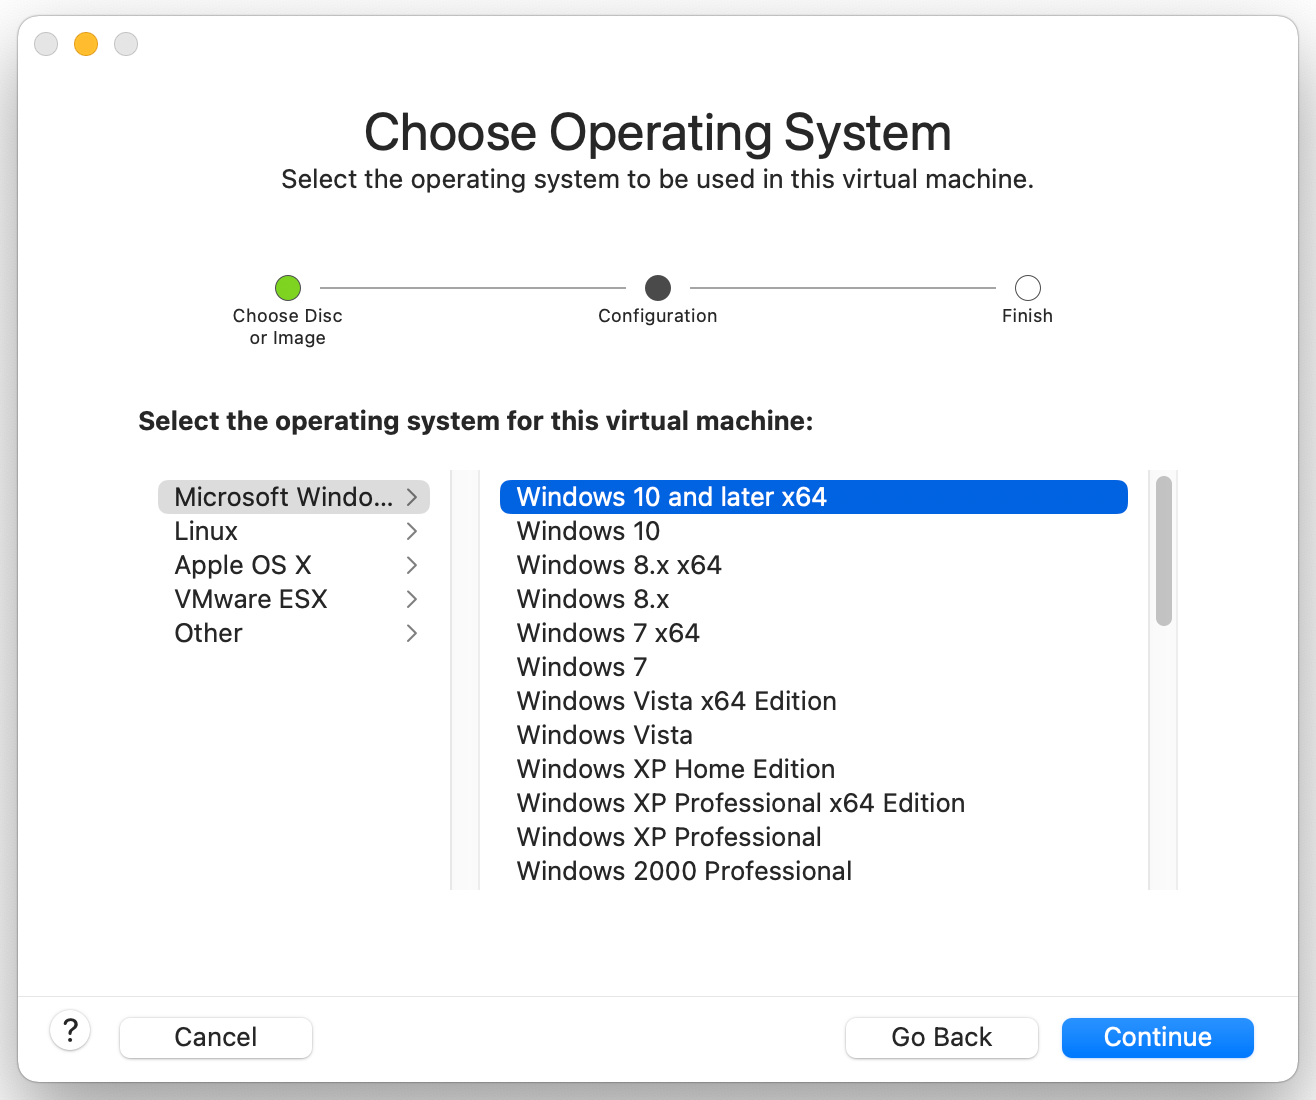
Select “Windows 10 and later x64”
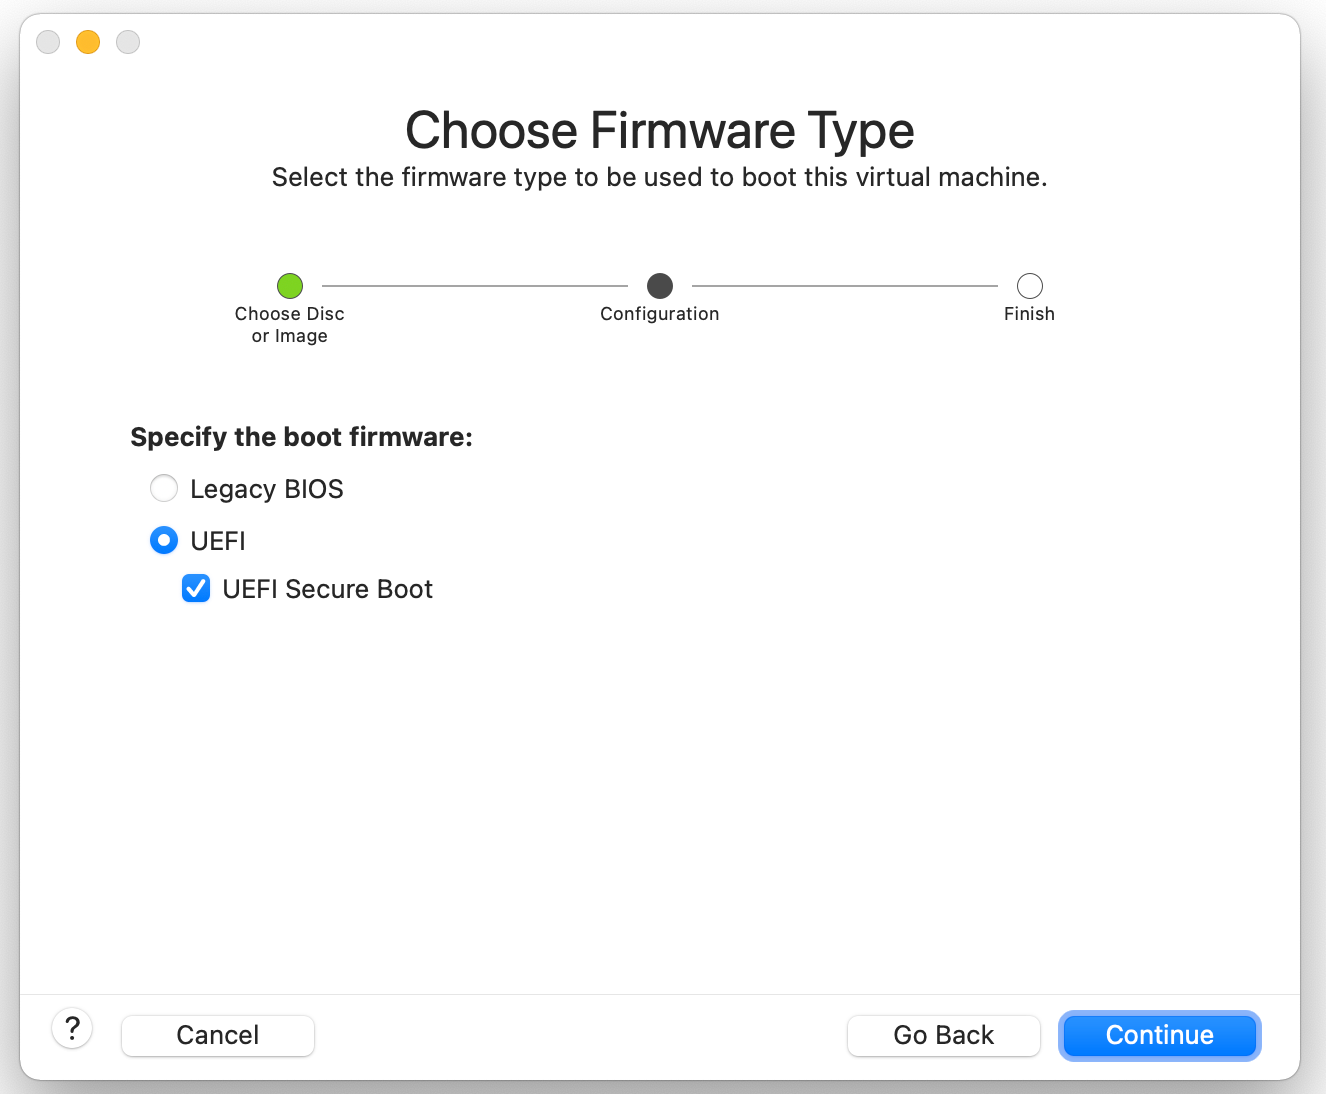
Select UEFI and optionally UEFI Secure Boot
Instead of selecting Finish, go ahead and click Customize Settings if you want to change the name of the VM or the location of the files, if not, click Finish.

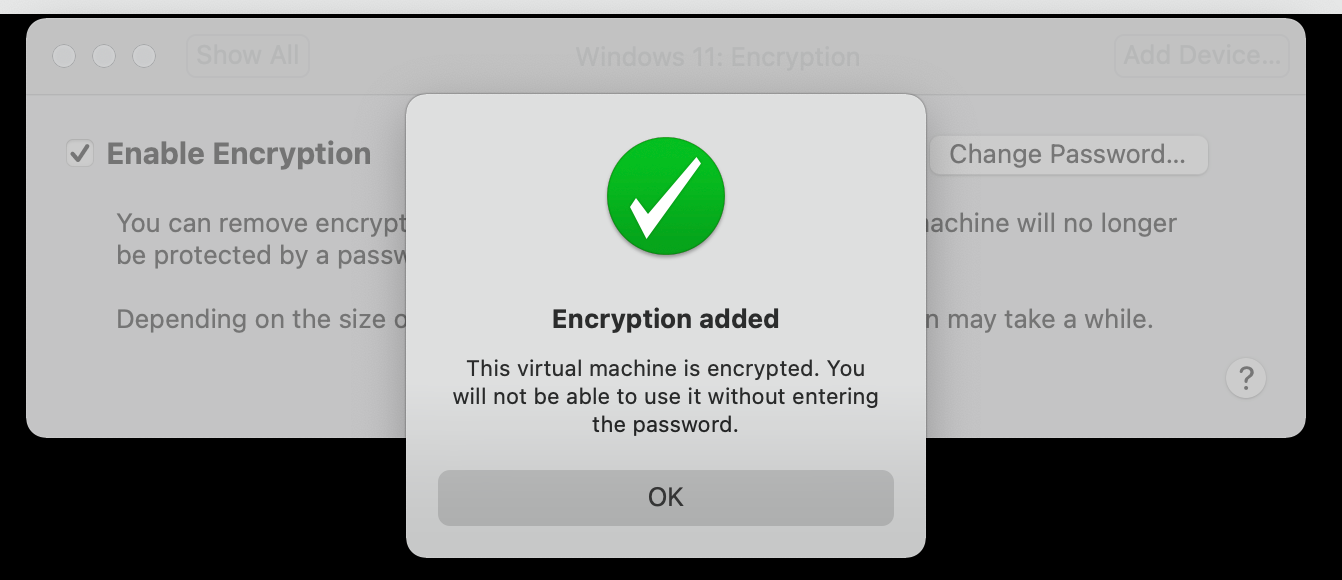
Next click on ‘Encryption’ and enter a password of your choice
The VM will now be encrypted
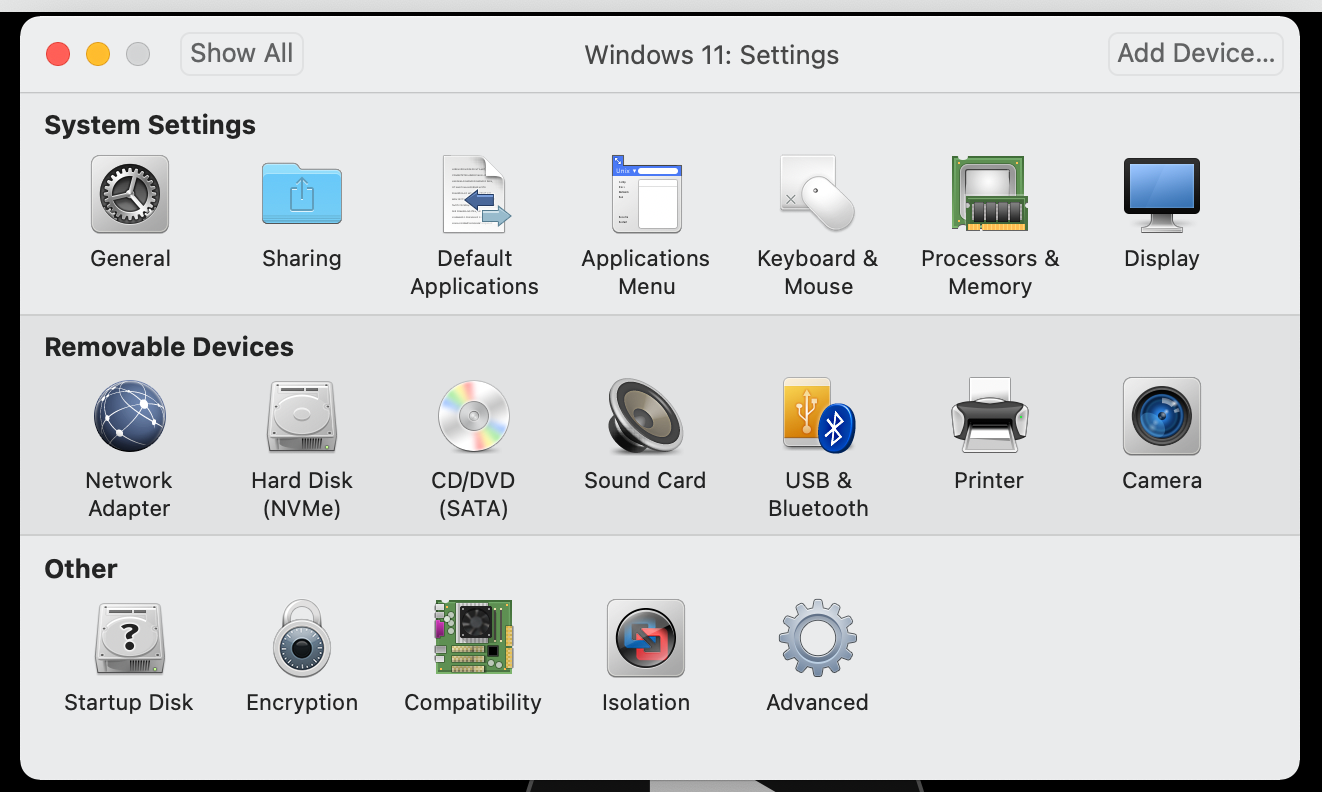
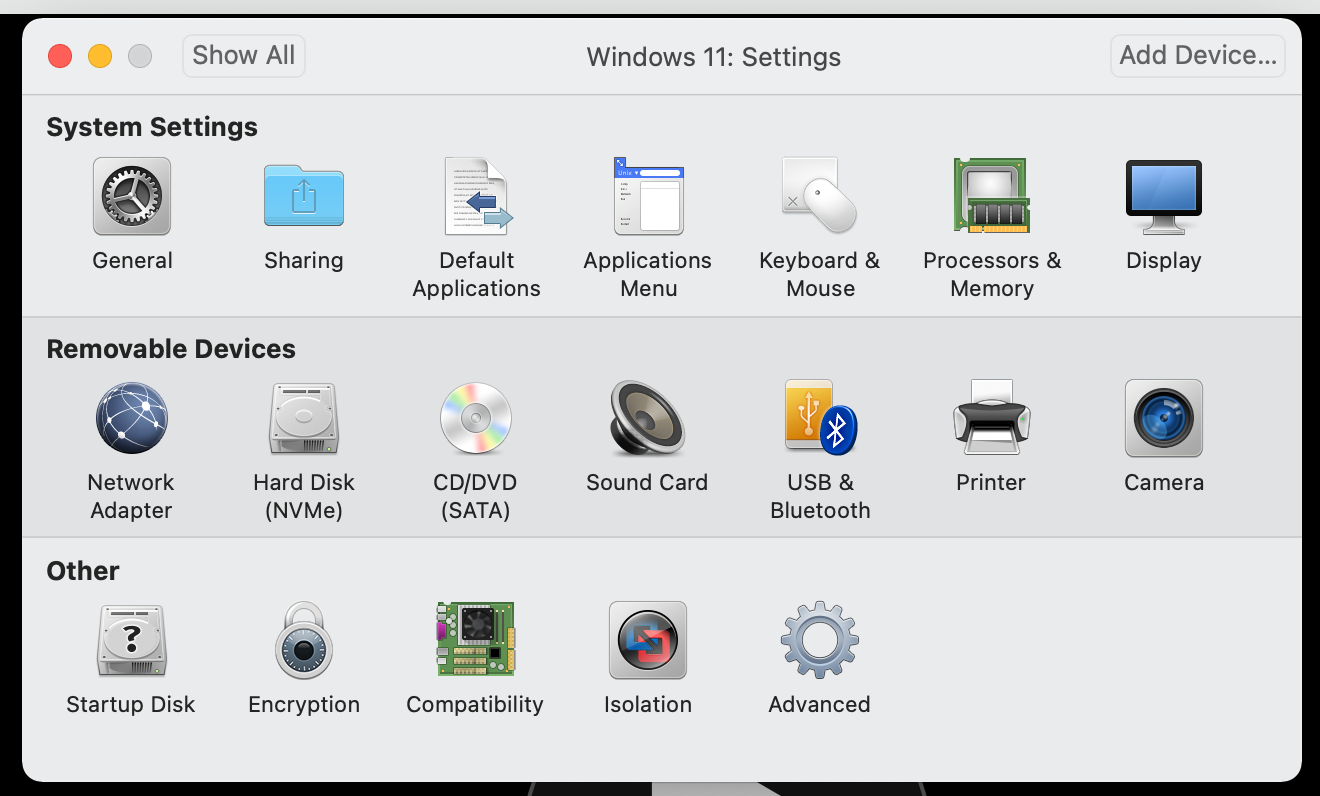
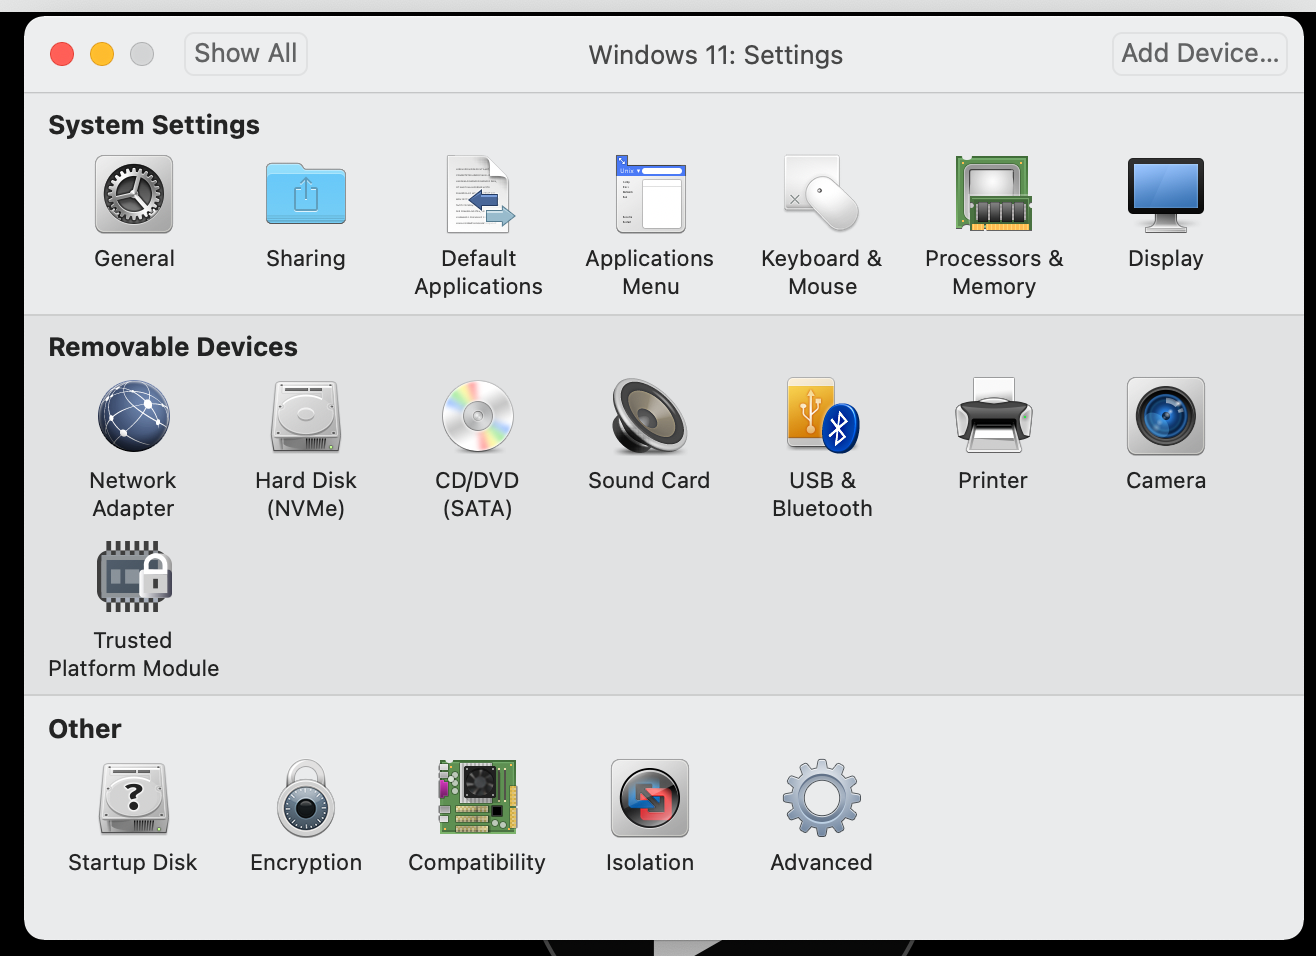
Next we need to add a Trusted Platform Module as that is a prerequisite for Windows 11. You can do this by going back to all settings and clicking ‘ Add Device…’ on the top right
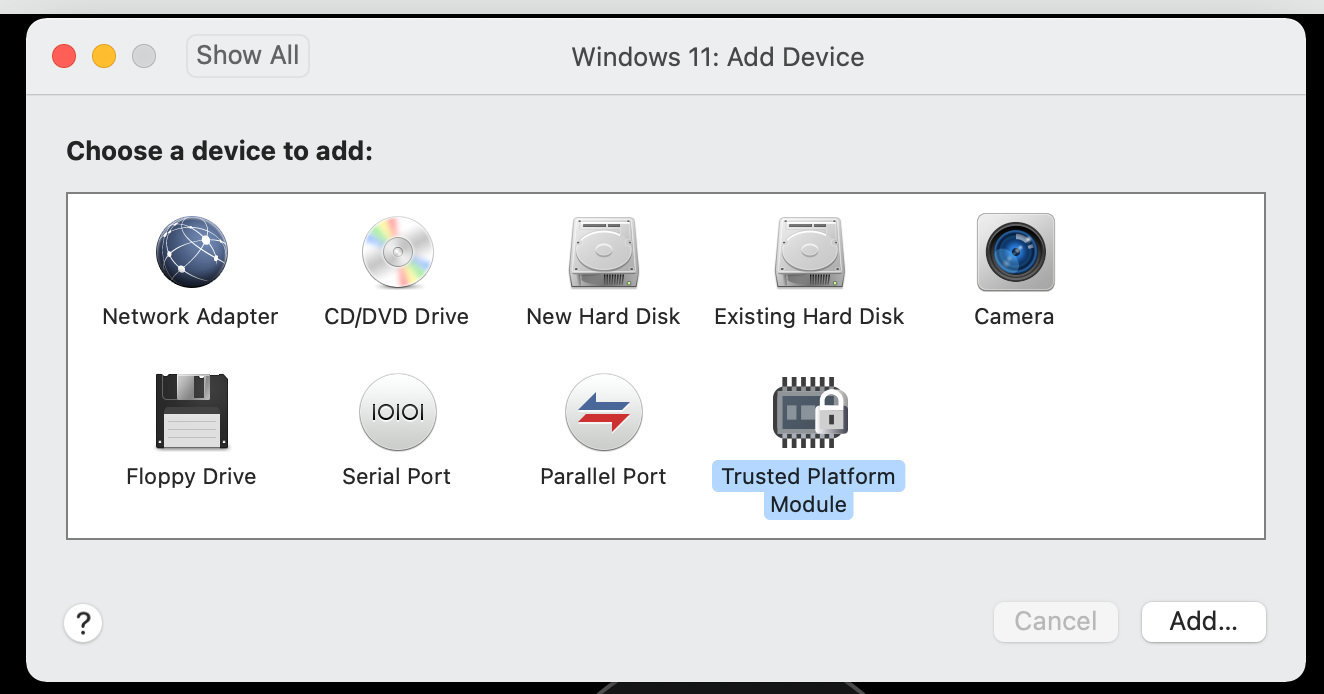
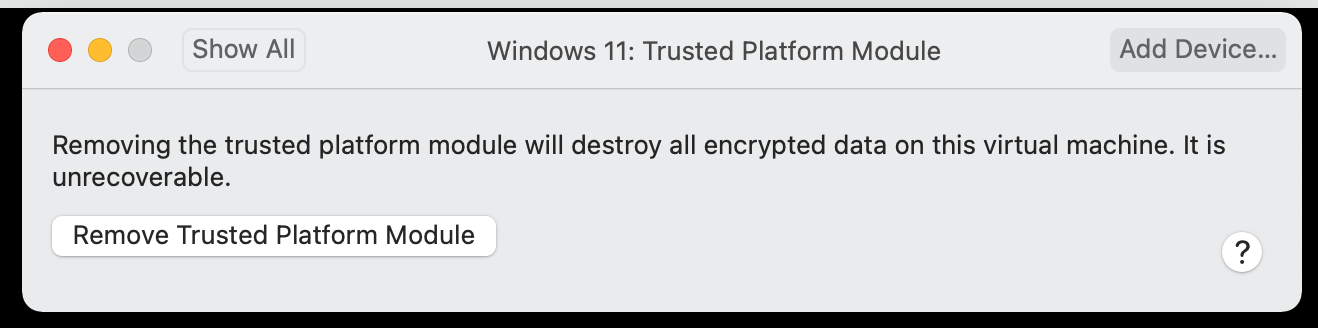
Select ‘Trusted Platform Module’ and click ‘Add…’
Acknowledge the information pane and click on ‘Show All’
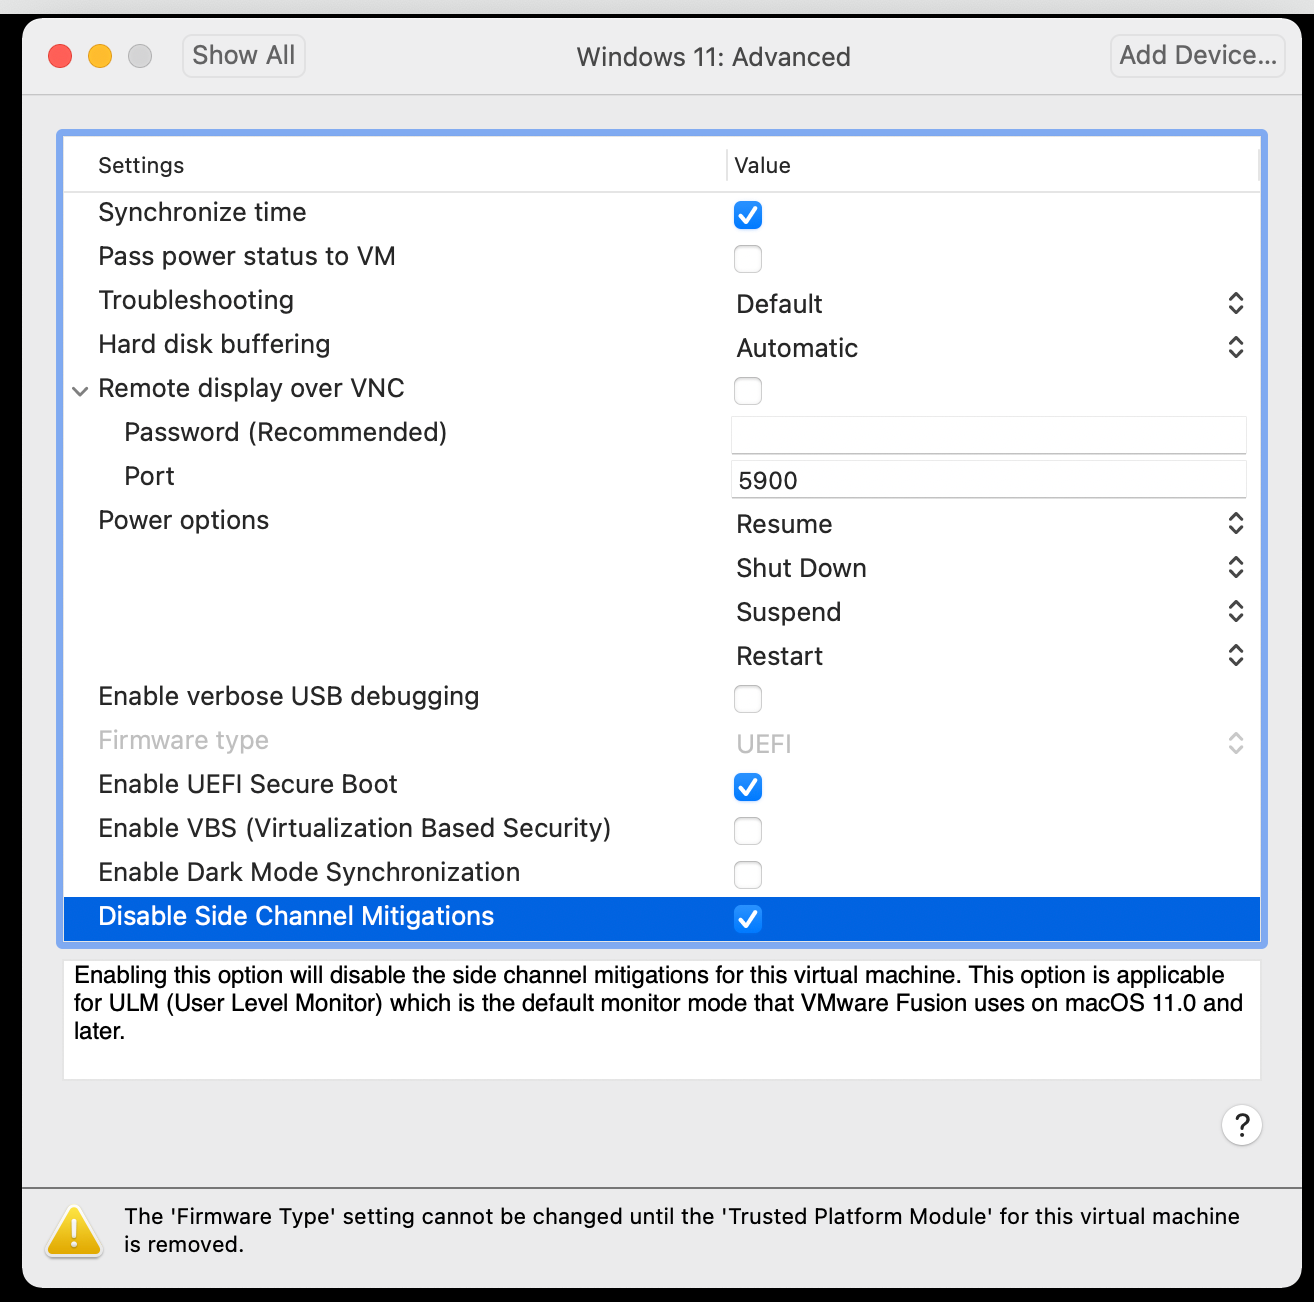
Optionally you can disable side channel mitigations to improve the performance (but obviously lower its security posture) of the VM. You do this by selecting ‘Advanced’
Click the ‘Disable Side Channel Mitigations’ checkbox
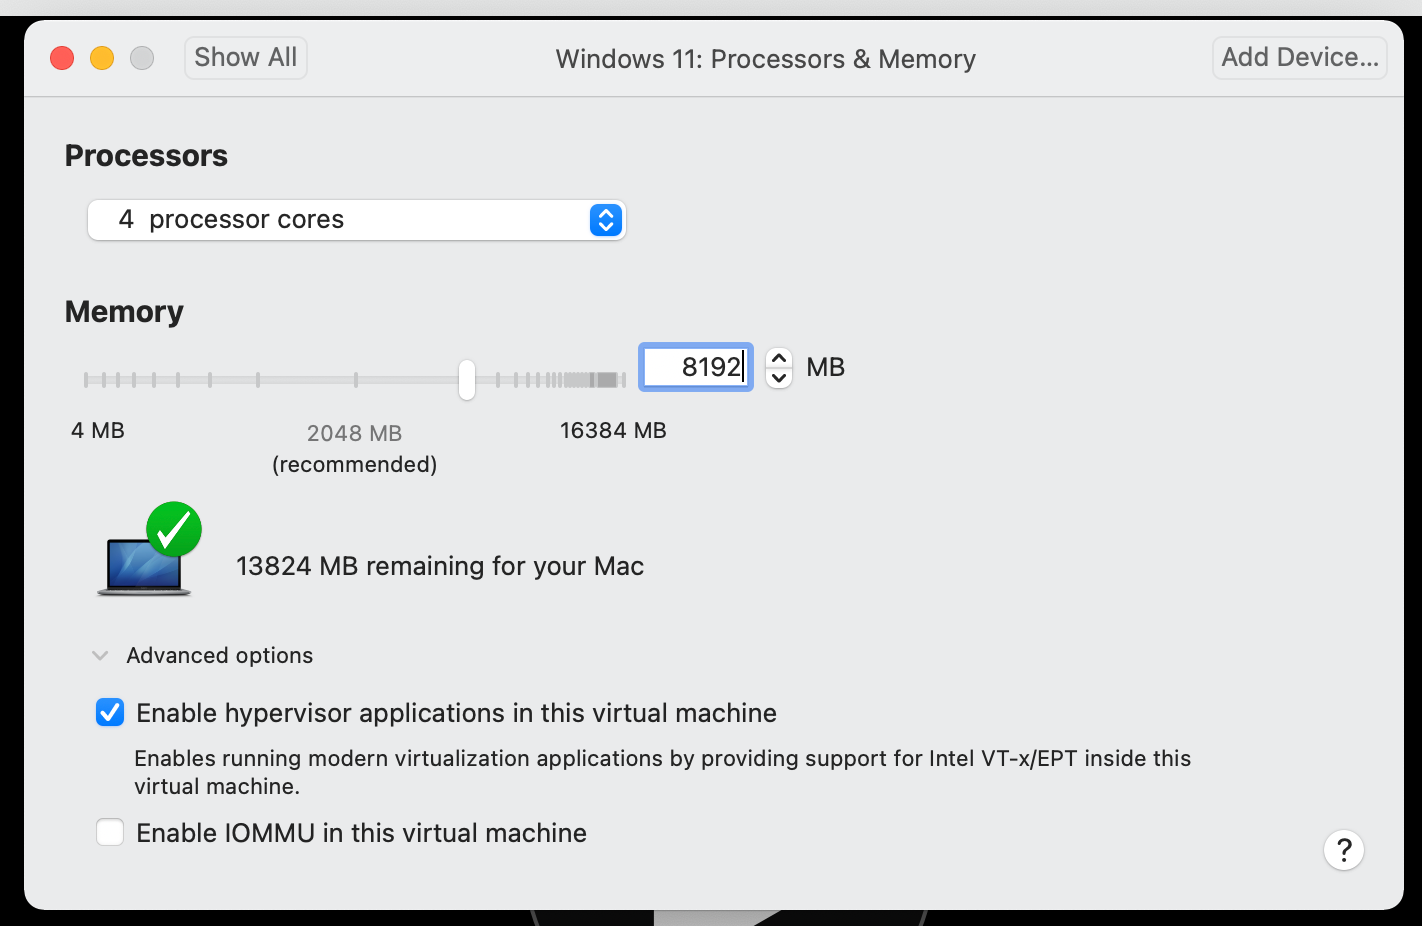
Now you can change the amount of virtual CPU and Memory that is allocated to the VM, you can also opt to enable hypervisor applications in the VM if you want to make use of WSL 2 (Windows Subsystem for Linux), which uses Hyper-V to run a Linux distribution on Windows 11. (Turtles all the way down).
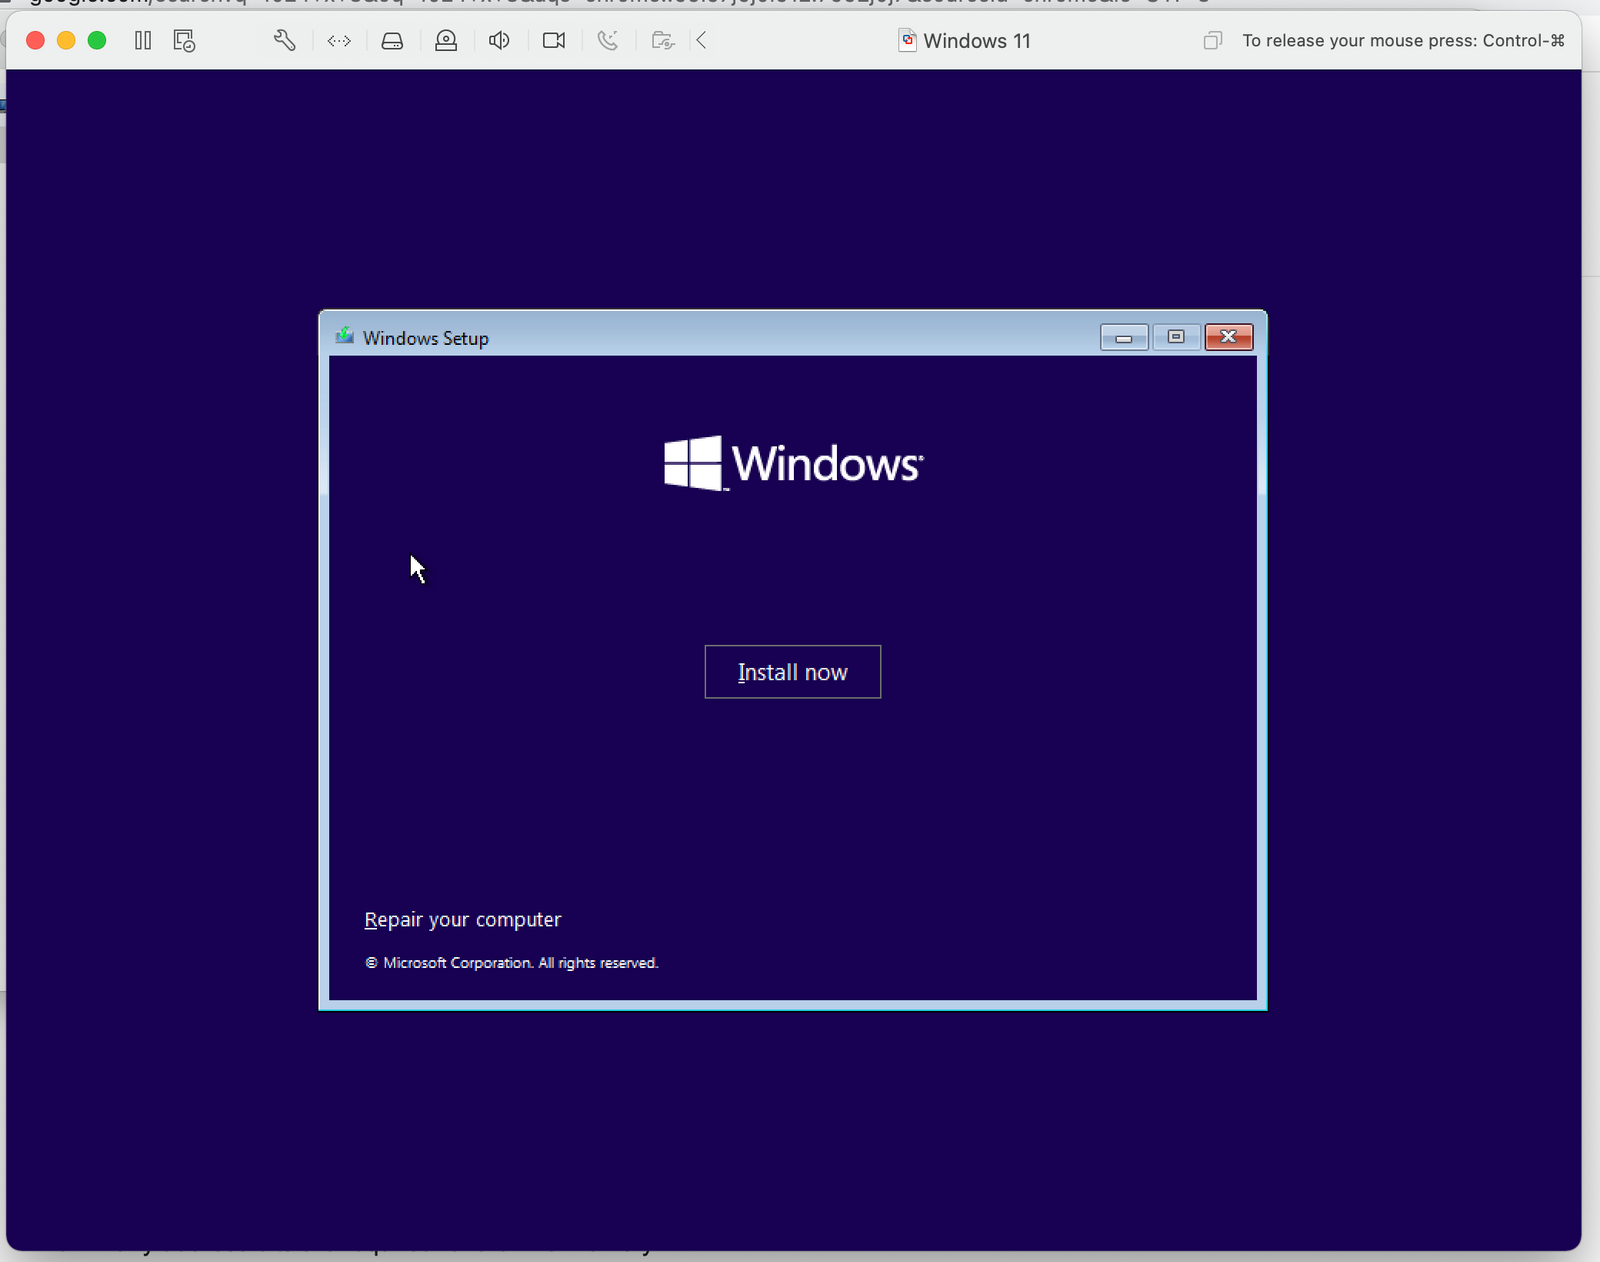
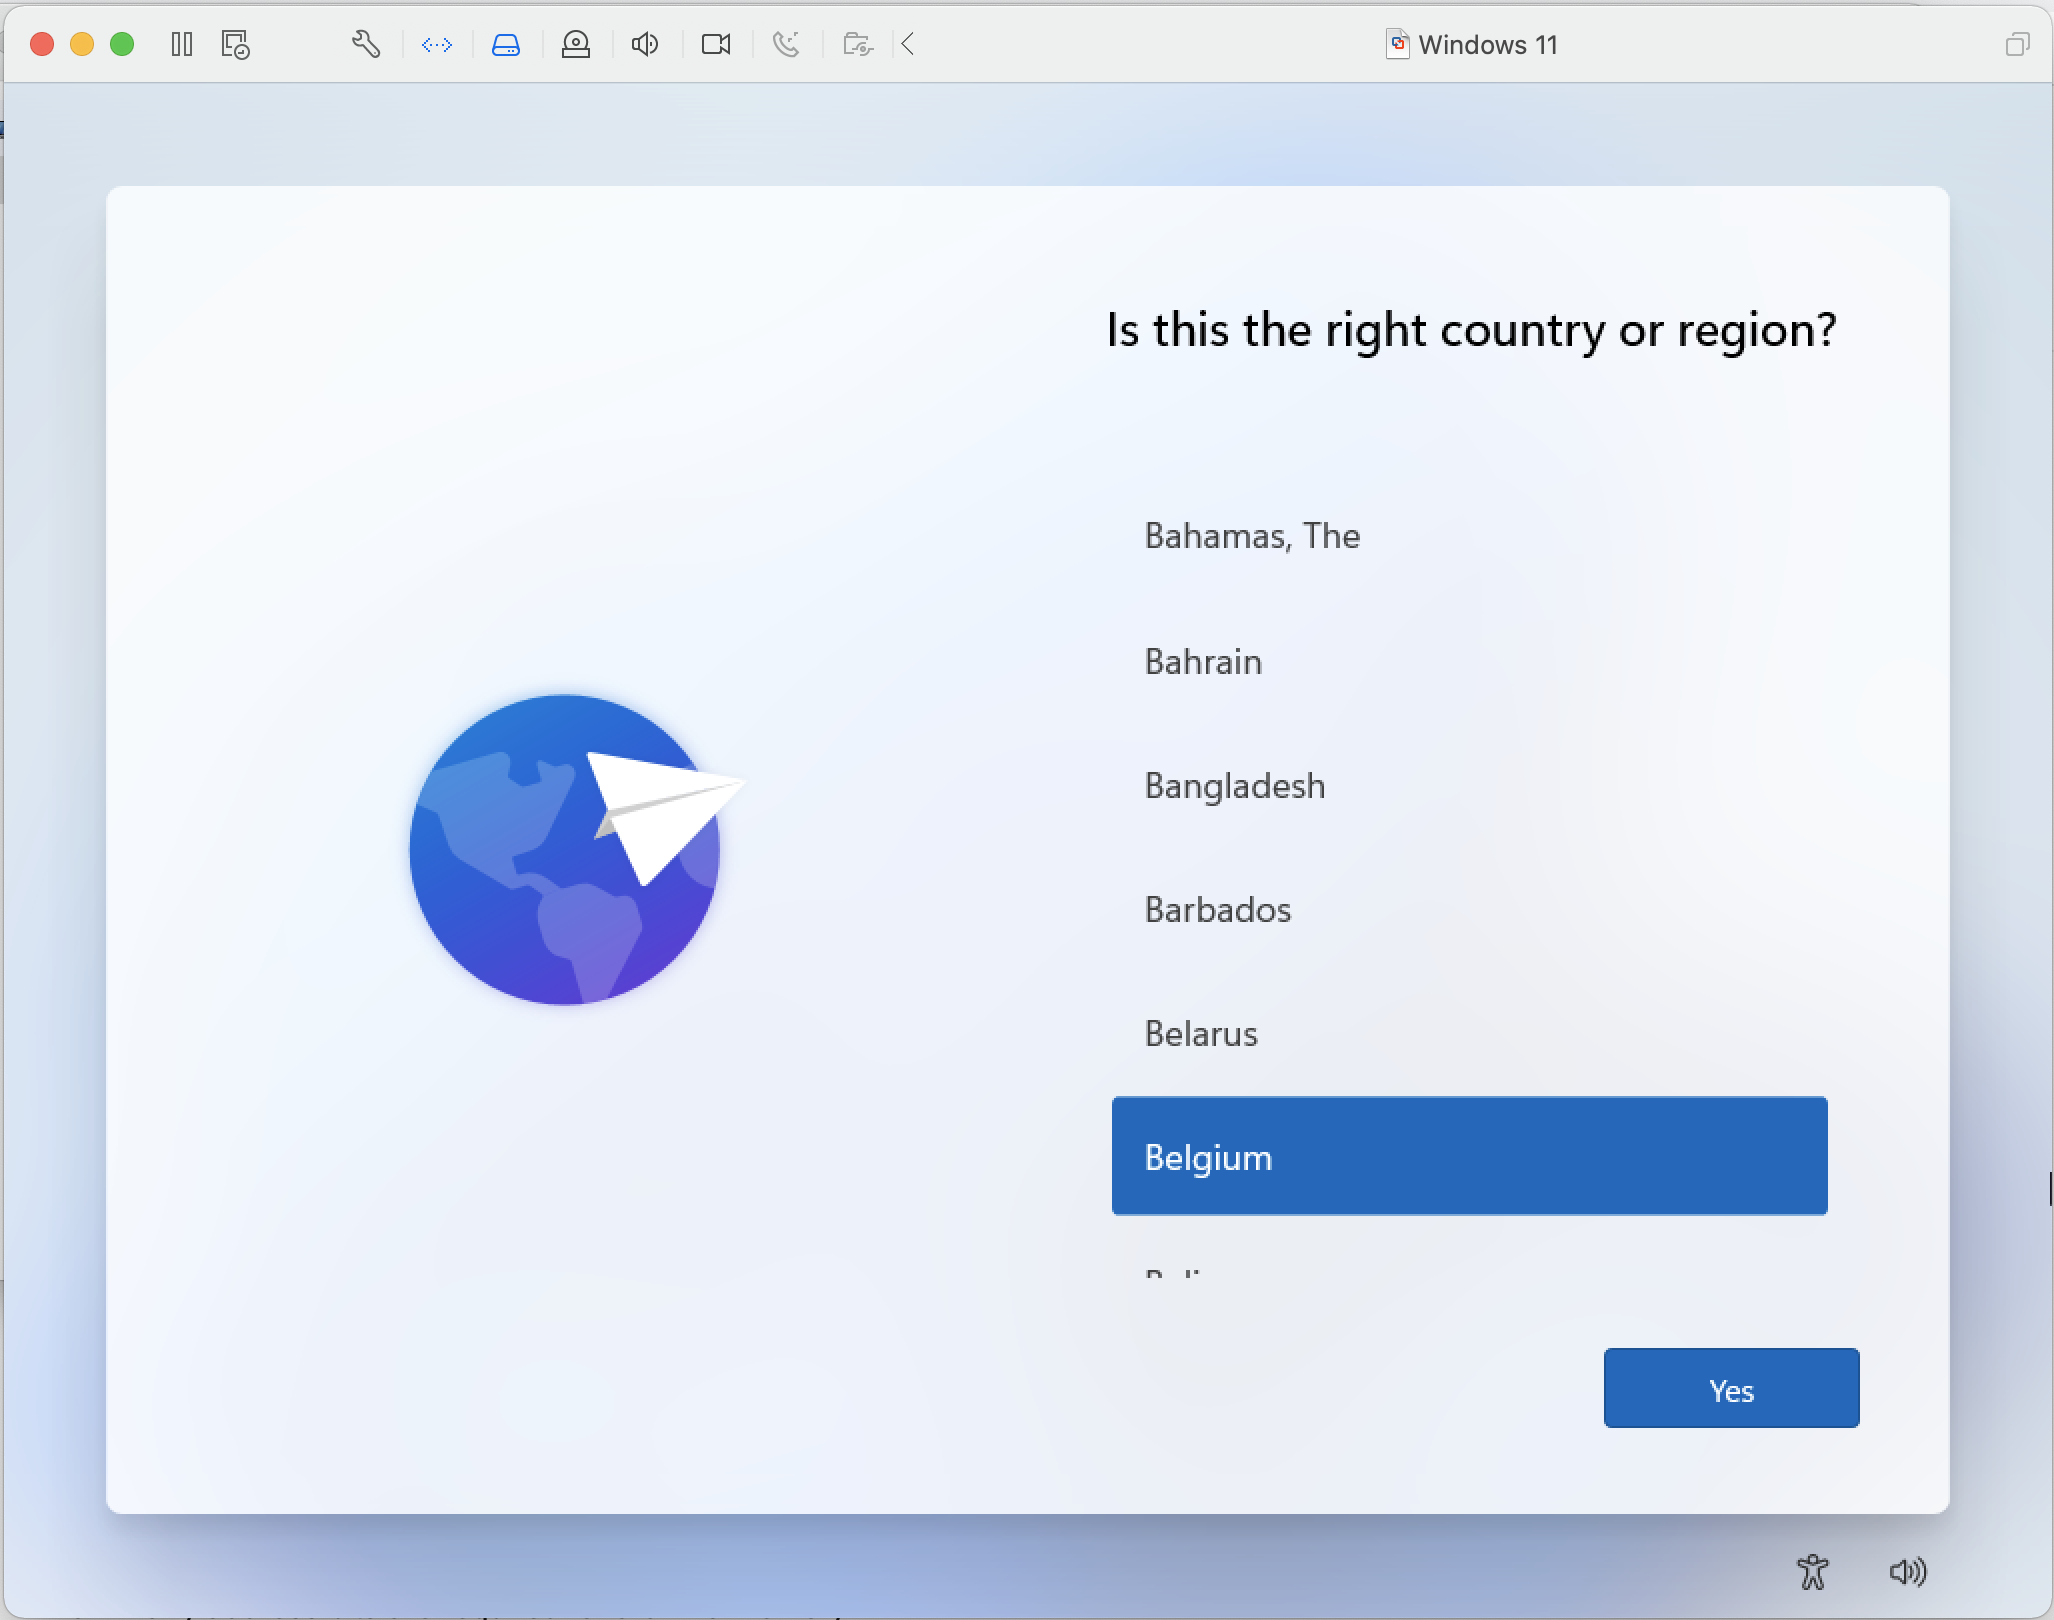
If you are happy with your settings go ahead and boot the VM and follow the Windows installation steps.
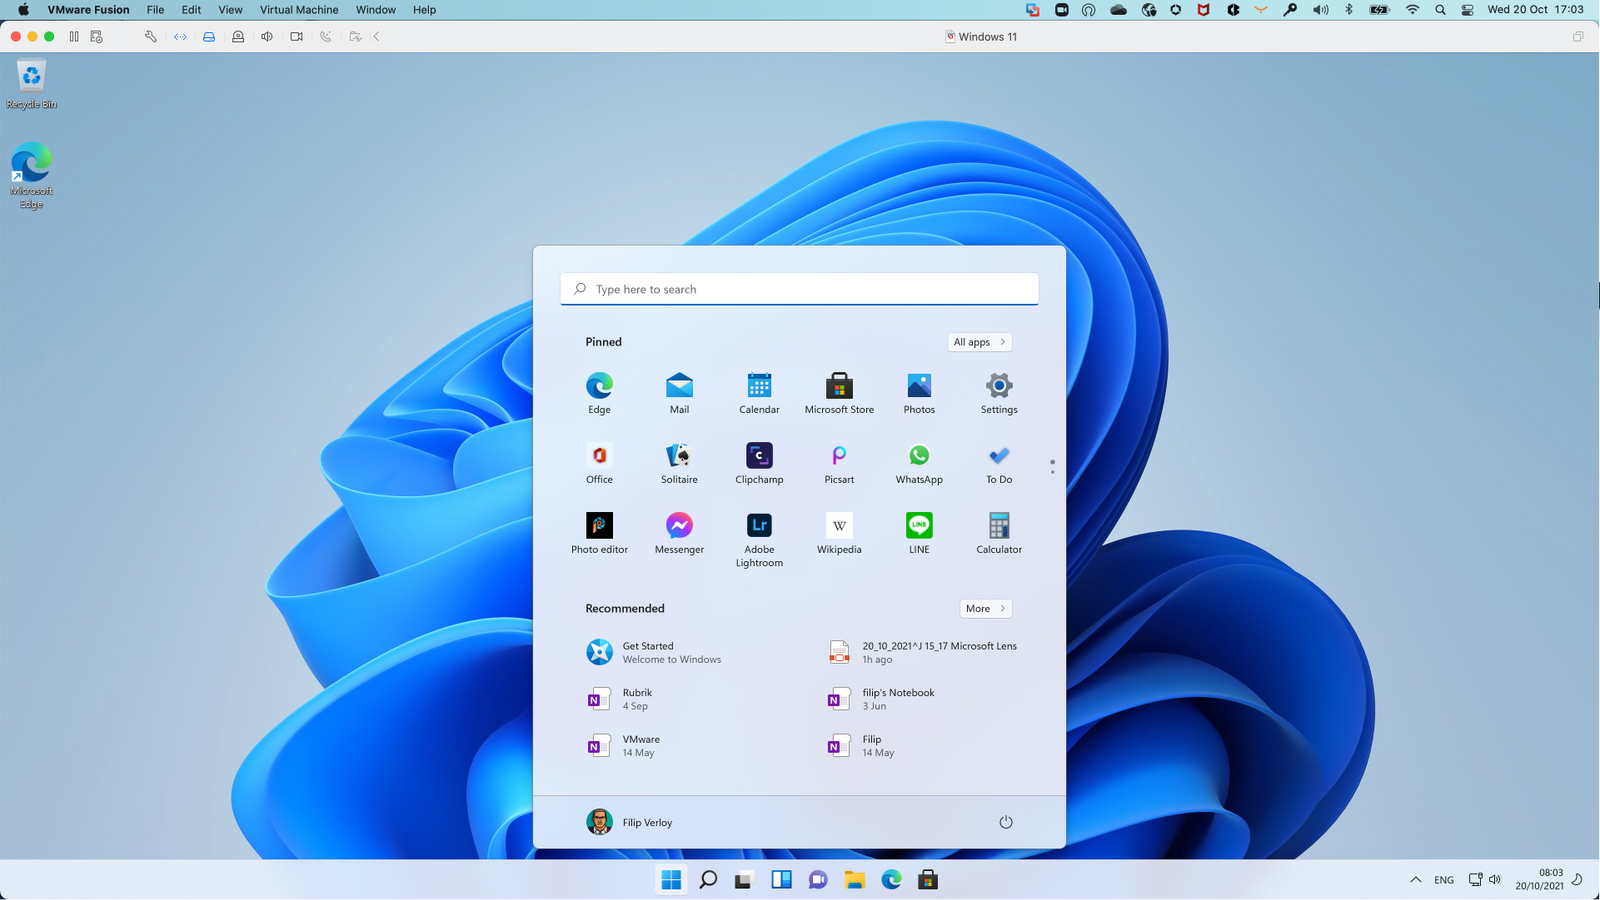
No more Cortana during setup (yay!)
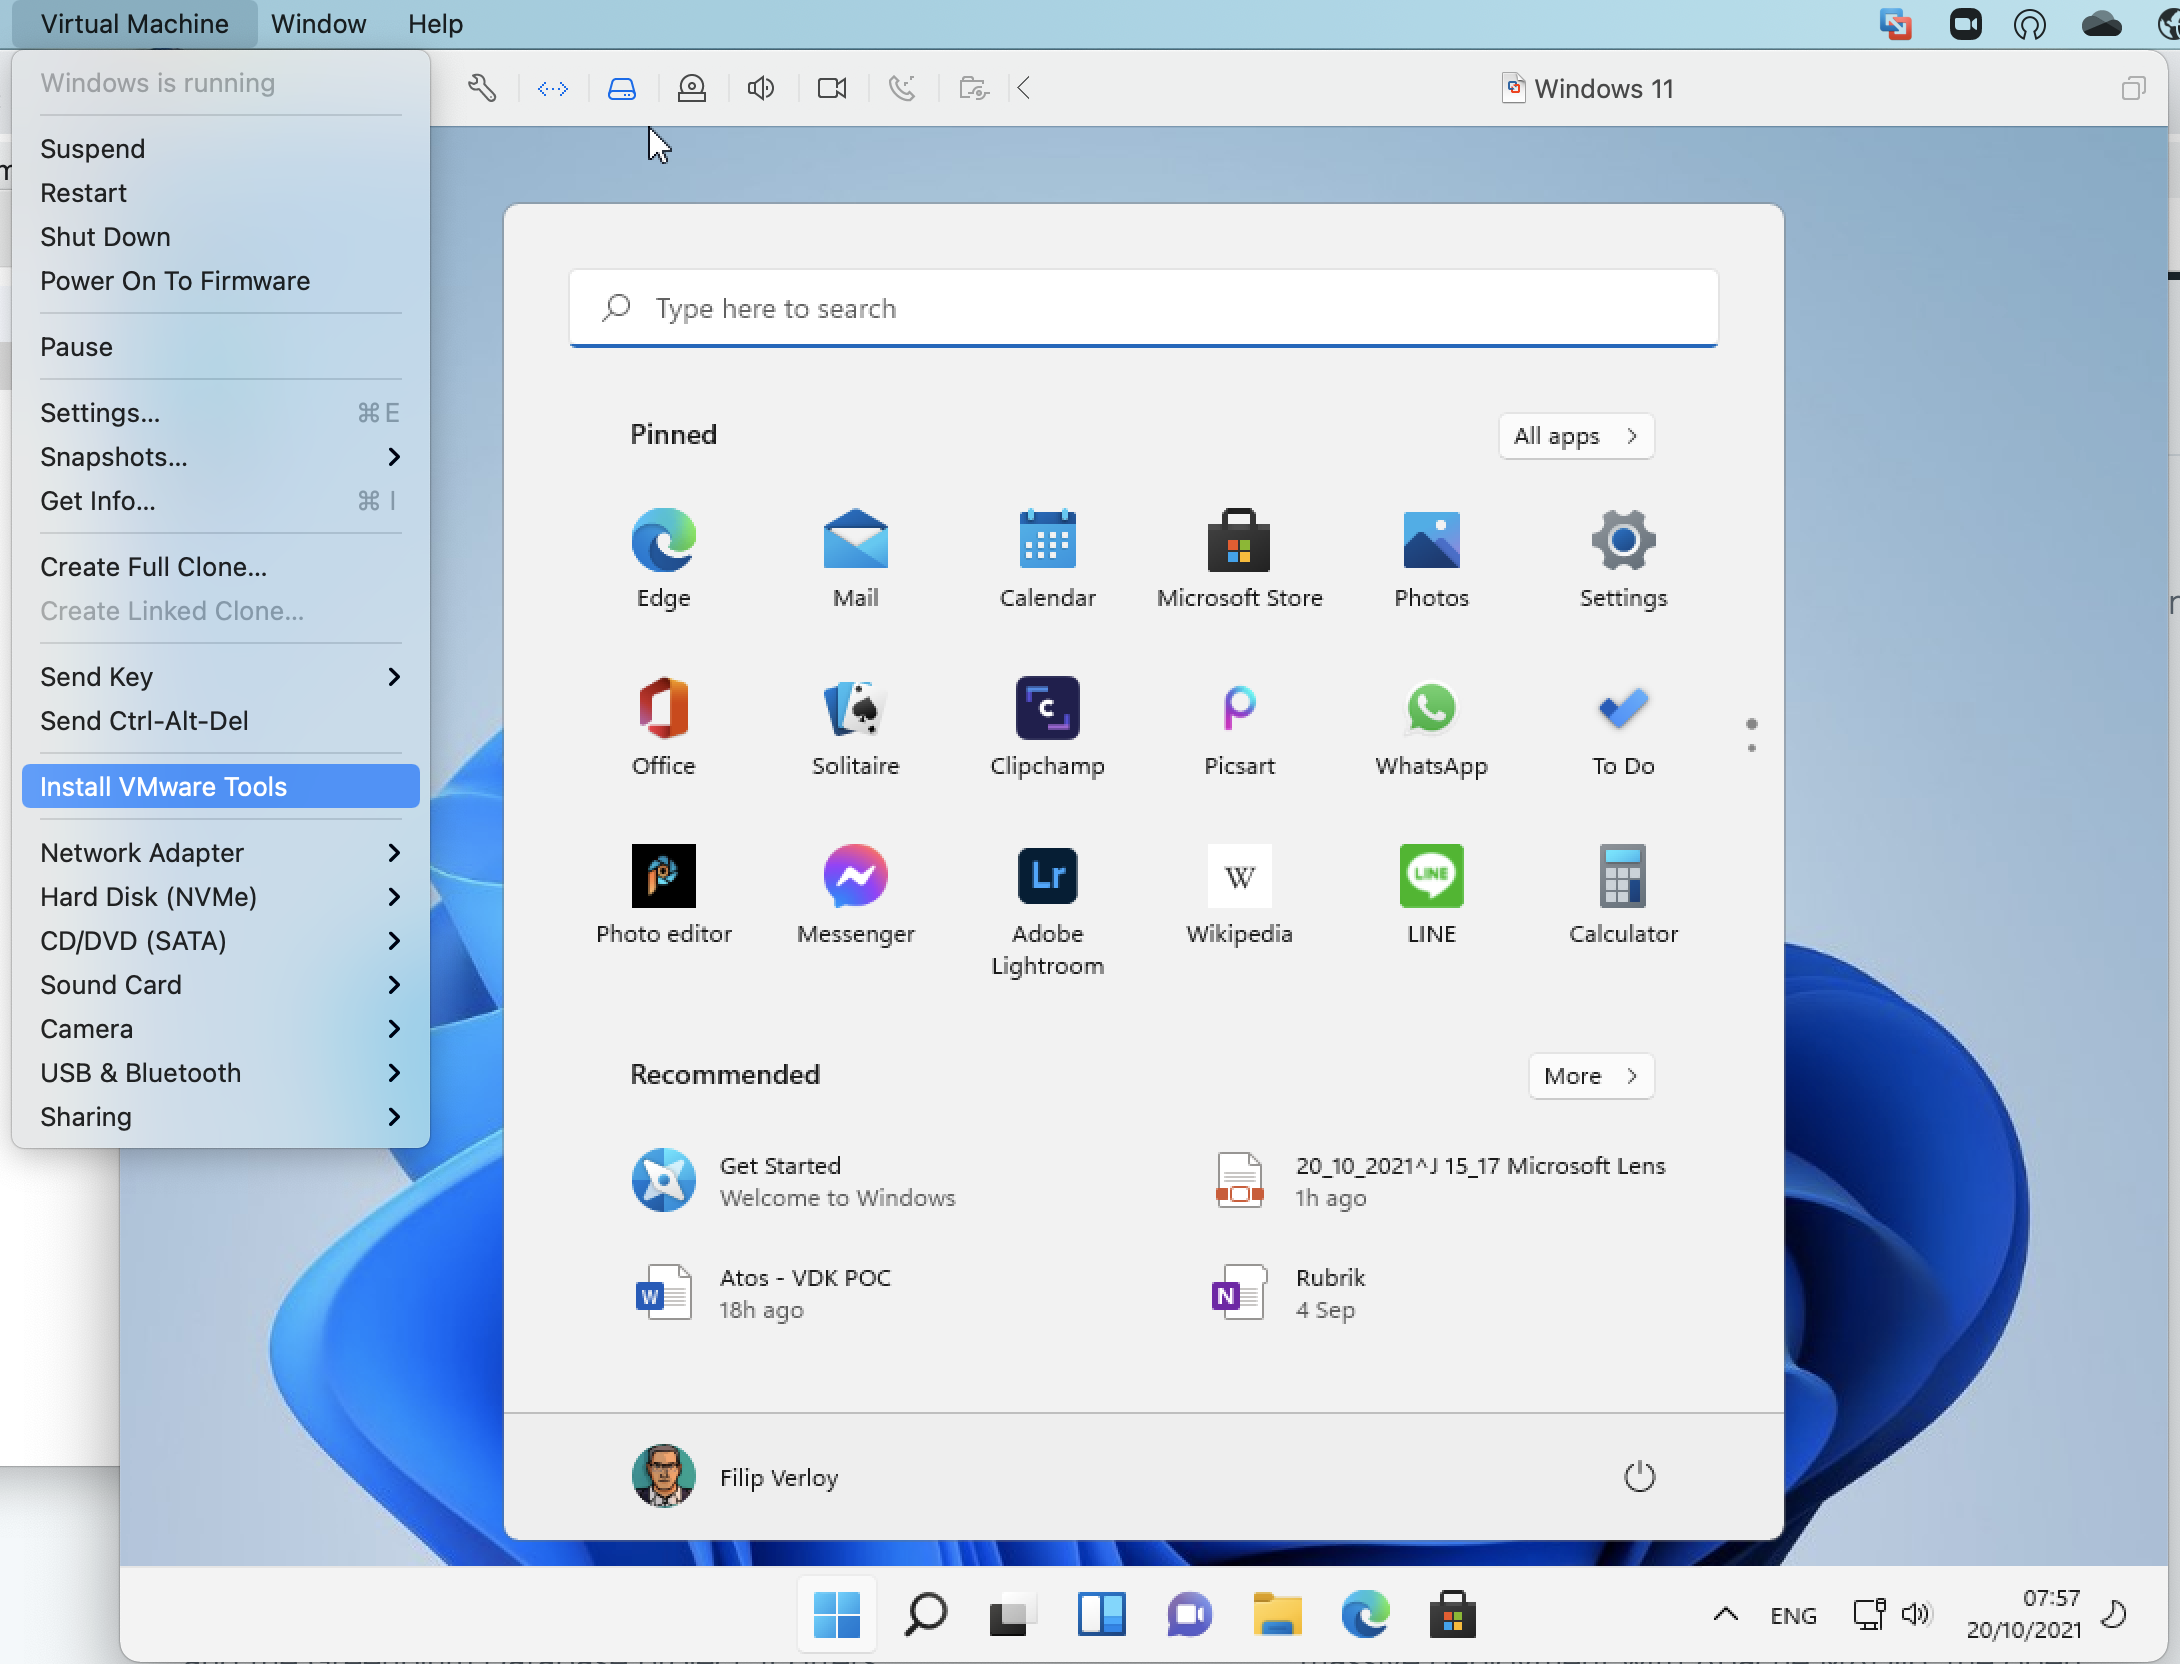
Once you are done with setup you can install VMware Tools to add to relevant drivers to Windows 11. Click on ‘Virtual Machine’ –> ‘Install VMware Tools’
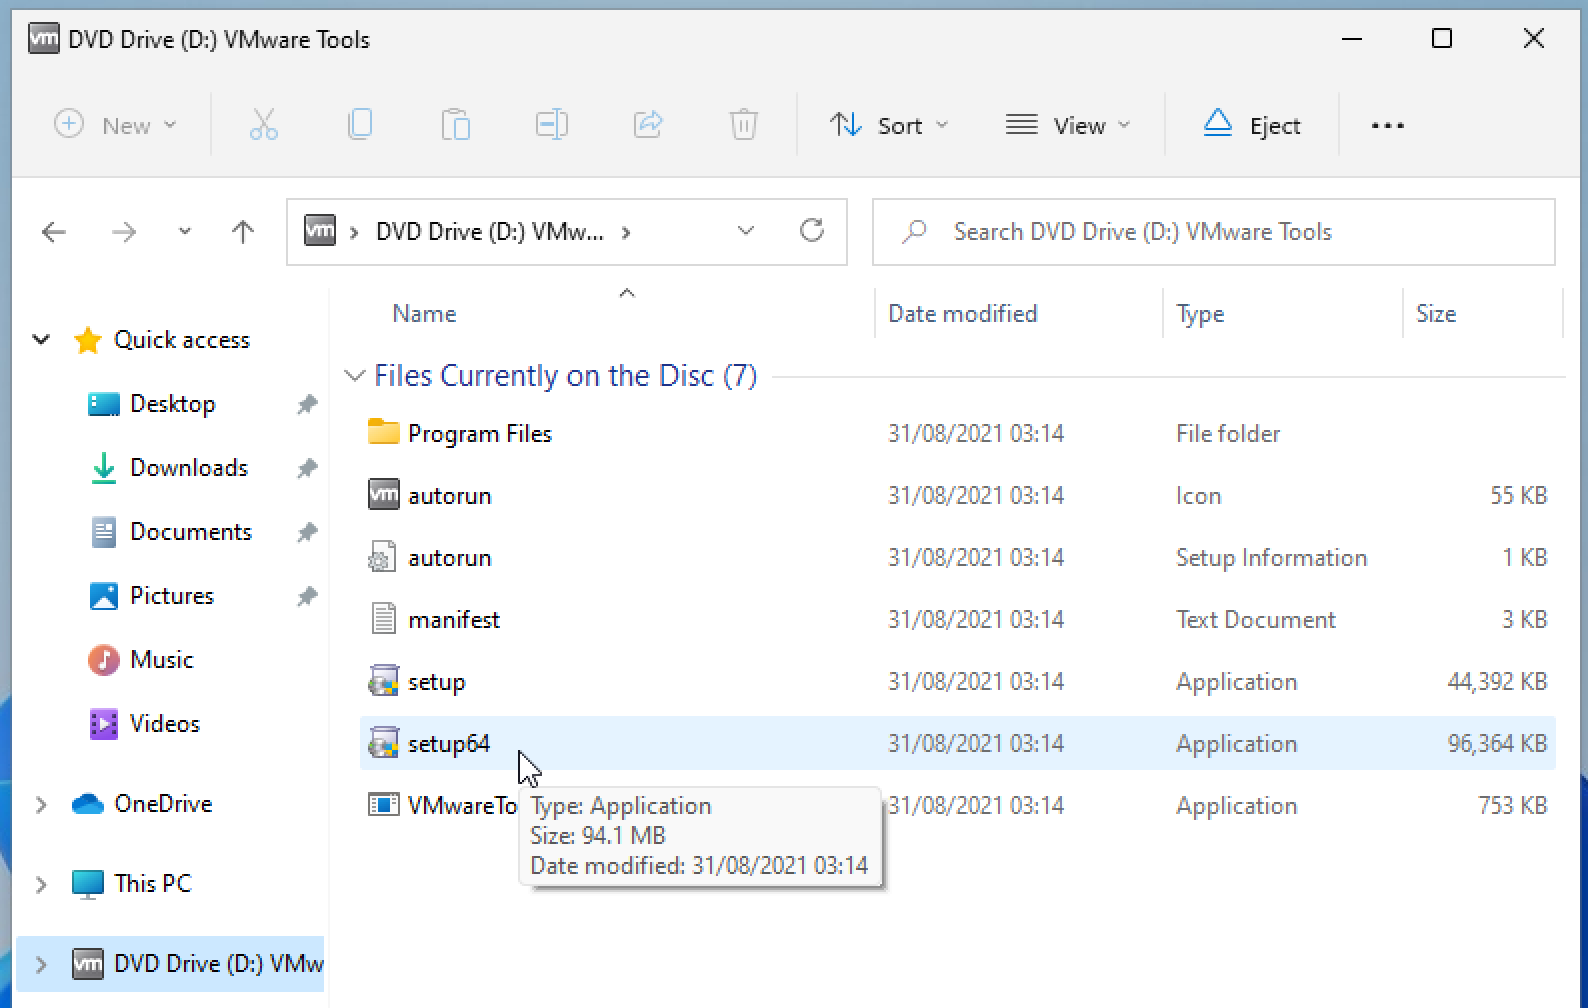
Doubleclick ‘setup64’ to install VMware Tools and run through the installation wizard. After the wizard finishes you need to restart the VM.
After the reboot you can enjoy a more appropriate resolution.
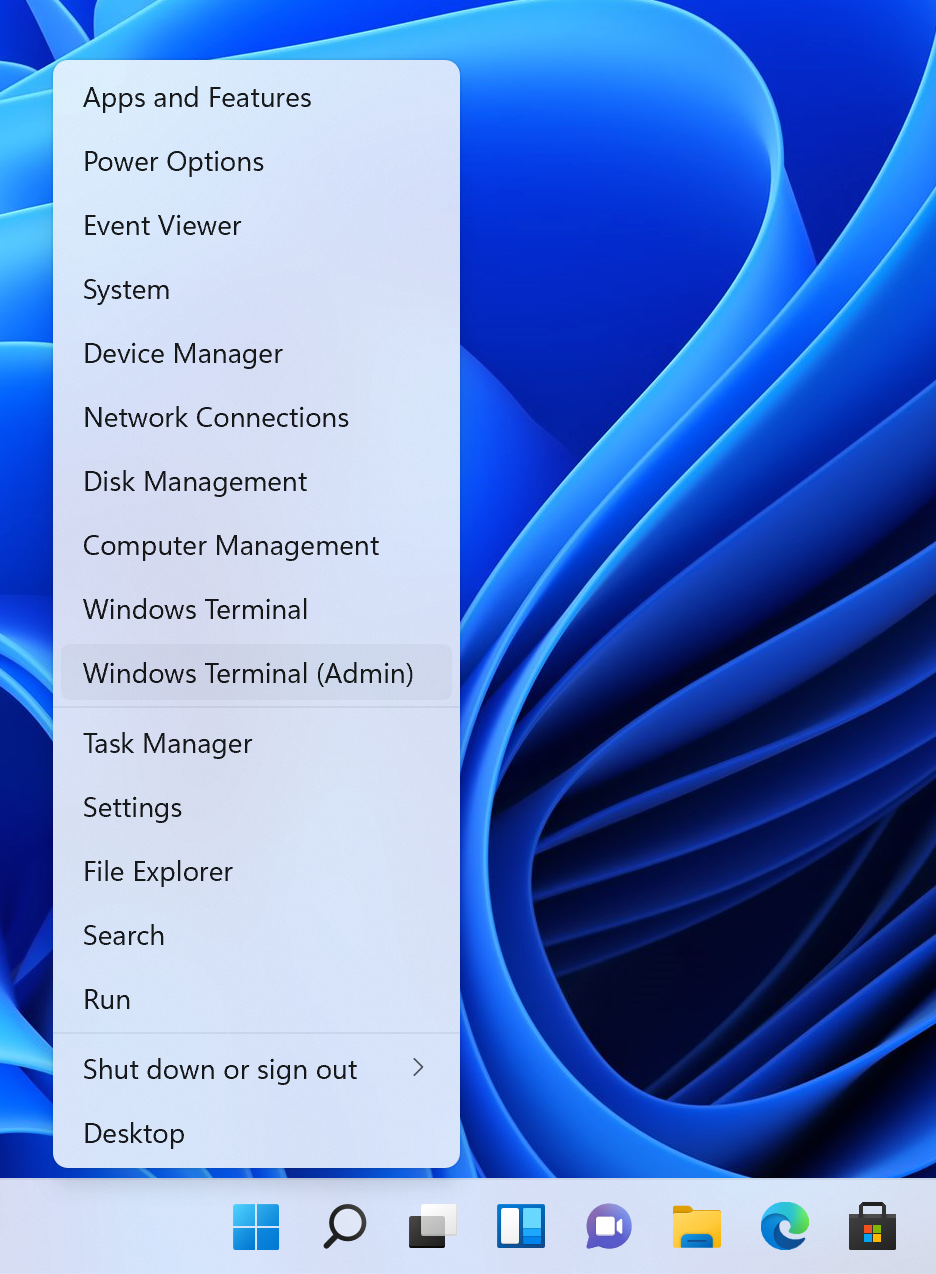
To install WSL, right click the start button and select ‘Windows Terminal (Admin)’
In Windows Terminal (you are in the Windows Powershell shell by default) type
wsl –install
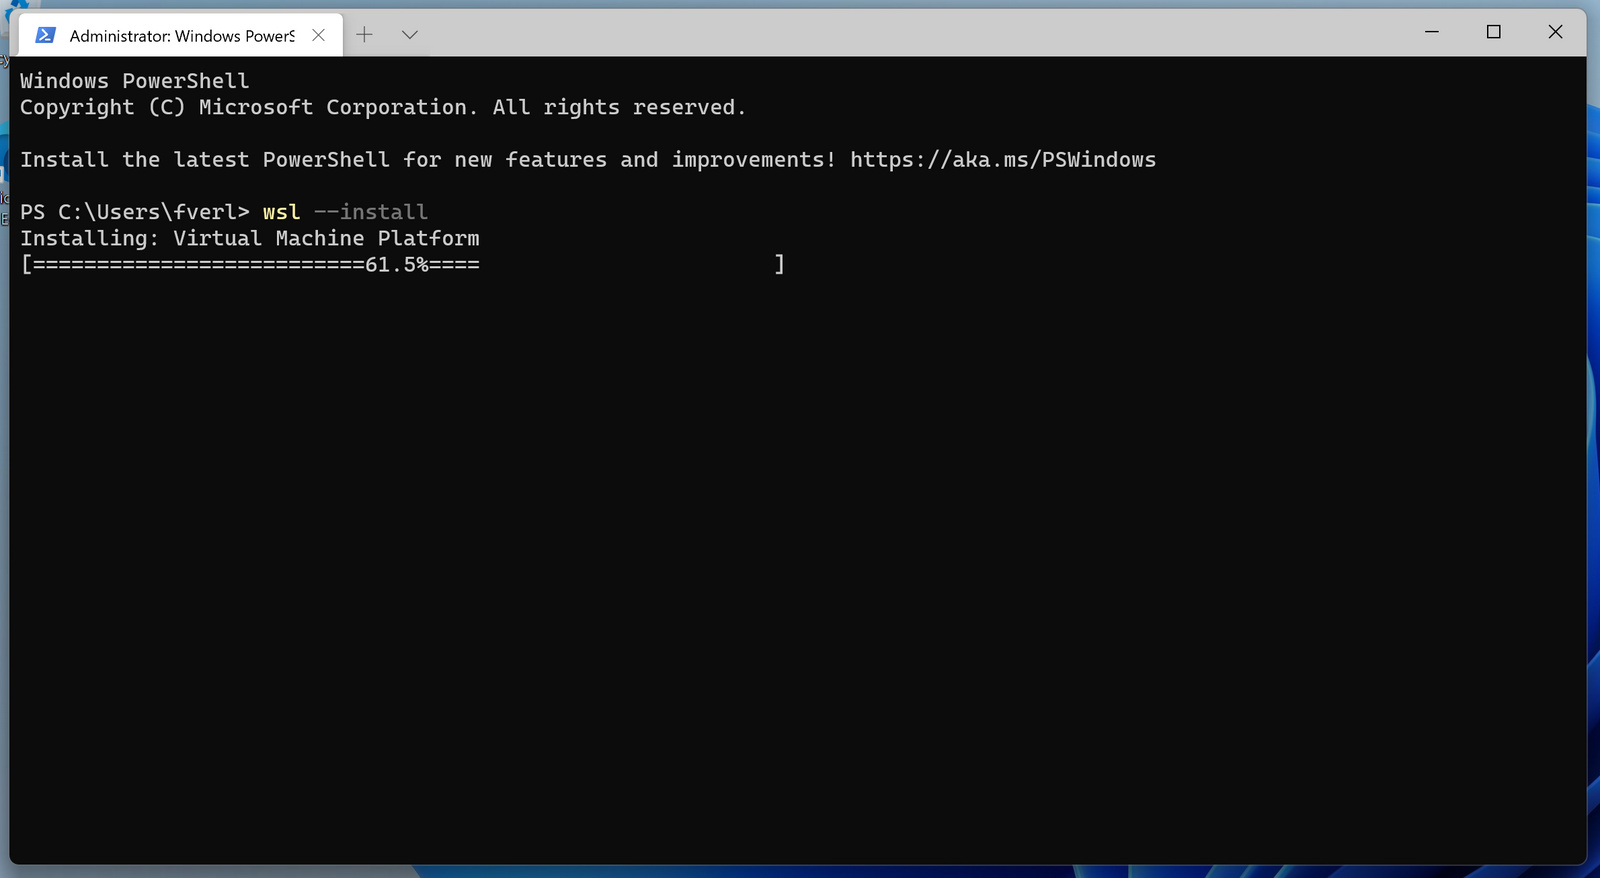
Once installation is complete, reboot your VM for the changes to take effect.

After the reboot, the installation of Ubuntu (the default distribution used by WSL) continues

et voilà! MacOS running VMware Fusion running Windows 11 running Hyper-v running Ubuntu Linux
NOTE: There is another, experimental way to achieve the same goal and potentially with better performance.
VMware is also shipping a currently-experimental vTPM device that boasts a reduced performance impact by employing a new encryption model, as well as several new options for managing Fusion and Workstation installations at scale.
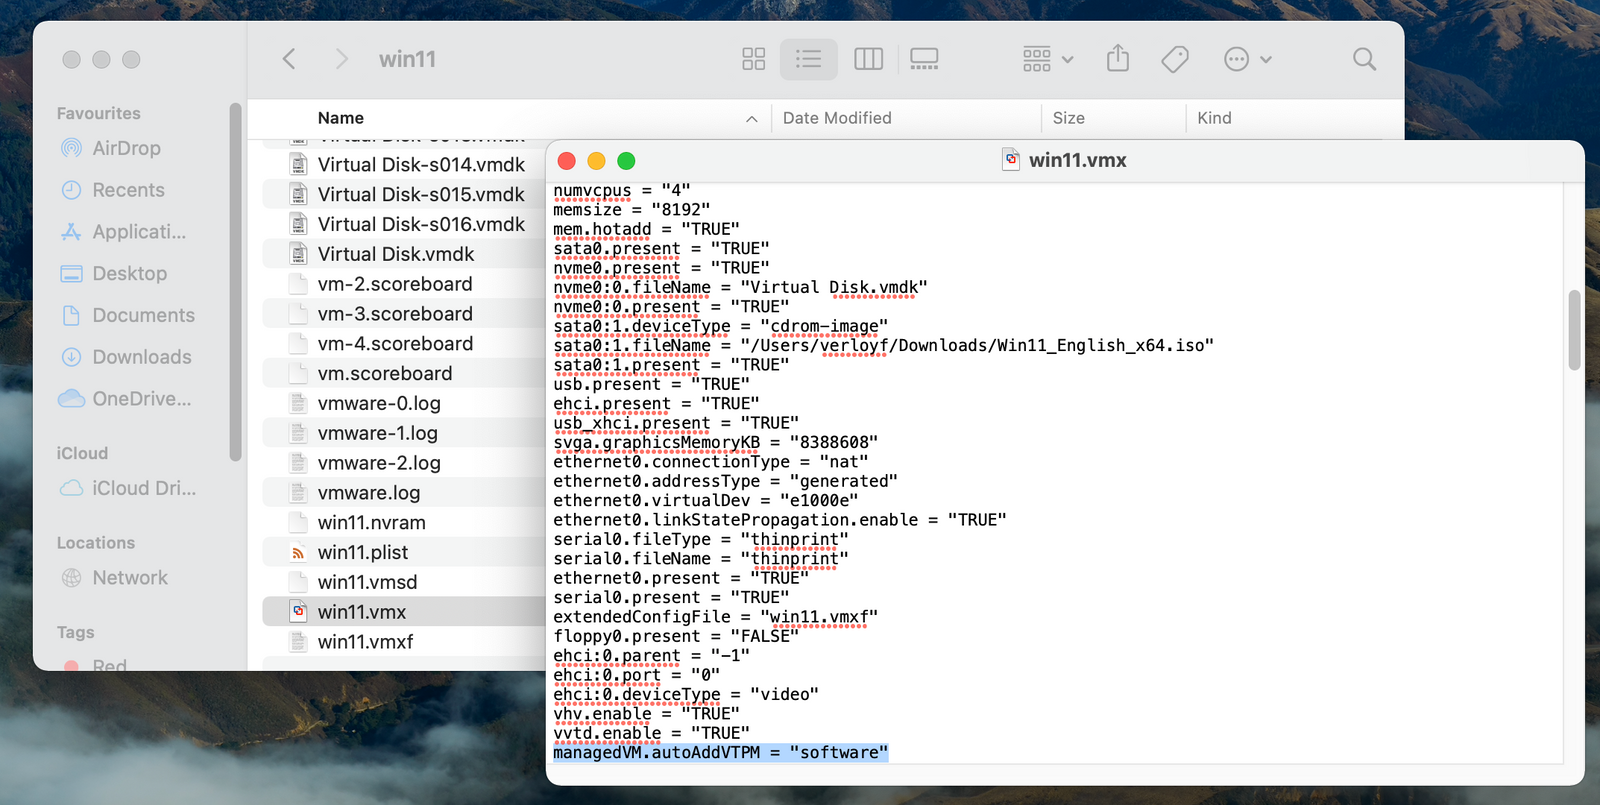
To use this experimental device, just add the following to the Windows 11 .vmx config file and restart Fusion:
managedVM.autoAddVTPM="software"
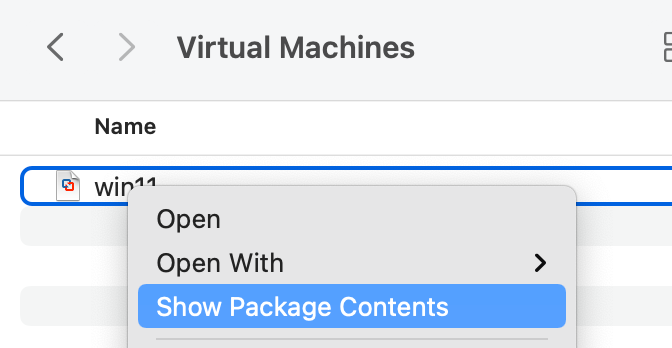
Go the Virtual Machine folder on your MacBook and rightclick the VM, select ‘Show Package Contents’
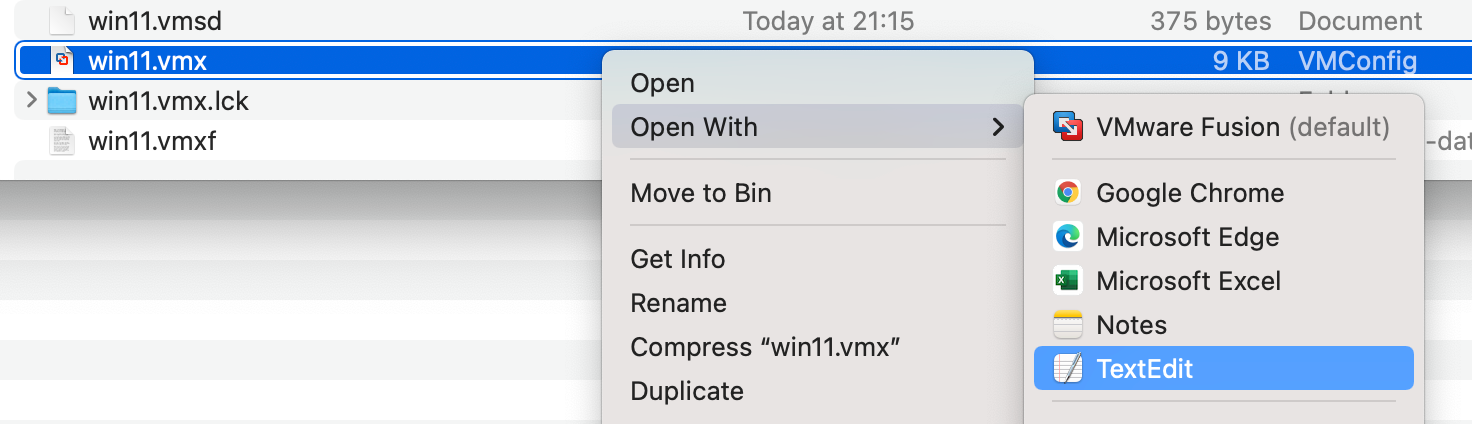
Select the .vmx file and open it in TextEdit and add the line above to end of the file and save it.
This replaces the need to do full-VM encryption.